Why cabinet jobs are harder to plan than they look
Cabinet jobs appear well-structured on paper. You have a parts list, a material spec, and a production timeline. But the planning step between the parts list and the cut layout is where most margin goes.
Cabinet components repeat across units — sides, shelves, bottoms, rails — but with small dimension variations between unit sizes. A 12-inch base cabinet shares the same parts breakdown as a 24-inch base cabinet, but none of the dimensions transfer directly. Each variation must be entered separately and verified against the sheet layout.
When this work happens in a spreadsheet or by hand, it consumes significant planning time on every project. The goal of a structured cabinet cut list workflow is to make that time consistent and short.
Step 1: Organize parts by cabinet module, then by material
Group your parts list by cabinet module first, then separate by material. Most cabinet jobs use two or three materials — melamine or MDF for carcass, a different finish for visible faces, and a secondary material for backs.
Keep each material in its own optimization run. Mixing materials in one layout is almost always a mistake. The optimizer will try to fit parts from different materials onto the same sheet, creating a layout that looks efficient but cannot be cut.
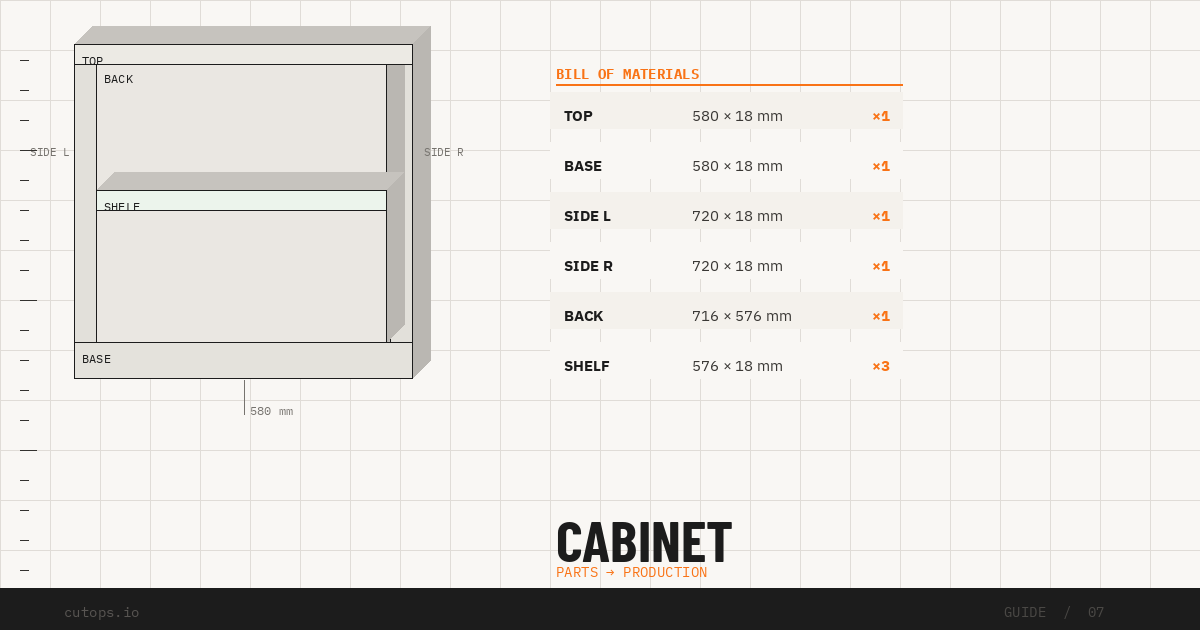
Common cabinet components to include
- Sides (left and right, usually paired)
- Top and bottom panels
- Fixed and adjustable shelves
- Back panel (often thinner stock)
- Nailers and stretchers
- Toe kick components
- Door panels (if cut on site)
Drawer components — box sides, bottoms, fronts — often come from a different material run. Separate them from the main carcass cut list from the start.
Step 2: Apply grain direction to visible components
Cabinet sides and door panels typically require grain to run vertically. Shelves are often unconstrained. Setting orientation per part prevents the optimizer from rotating a cabinet side 90 degrees to improve nesting — which would create a component that cannot be used.
Set grain direction locks before the first optimization run. Applying constraints after the fact means running the optimizer again from scratch.
Step 3: Account for edging in finished dimensions
If parts receive edge banding, enter finished dimensions — the size after banding. Many cabinet shops cut parts to net size and apply edge banding after. In this case, the cut dimension is the final dimension.
If your workflow involves cutting oversize and then trimming after banding, adjust part dimensions to reflect the actual cut size. Enter what the saw will cut, not the finished product size.
Step 4: Set kerf for your primary panel saw
Panel saws vary in blade thickness. Horizontal beam saws typically run a 3–4 mm kerf. Table saws may run narrower. Enter the kerf for the saw that will make the primary cuts.
For a job with 200 panel components across 20 sheets, a 3 mm kerf applied correctly changes the layout by several parts compared to a run with no kerf entered. The difference matters when you are cutting close to the edge of available sheet count.
Step 5: Compare optimization strategies before committing
For cabinet batch production, strategy selection has real impact. An optimization strategy that minimizes sheet count may produce complex cut sequences. A strategy that prioritizes cut simplicity may use one additional sheet but run significantly faster on the floor.
Run at least two strategies and compare:
- Sheets required
- Cut count per sheet
- Overall utilization percentage
For high-volume cabinet runs, the strategy with fewer cuts per sheet often saves more time than the strategy with slightly higher utilization.
Step 6: Validate before cutting
Before the first sheet goes on the saw, verify the layout against the physical job:
- Do sheet quantities in the plan match sheets available on the floor?
- Are all labeled parts in the layout recognizable to the operator?
- Do any parts appear on the wrong material sheet?
A 10-minute verification review before cutting is faster than a recut after a layout error surfaces at the machine.
Exporting for the production floor
Export the cabinet cut list in at least two formats:
PDF layout sheets give operators a visual reference that can be marked up and attached to a job packet.
CSV cut list provides the structured part data for shops using CNC panel saws or point-to-point machines that accept cut list files.
Label each export with the project name, the run date, and the material specification. Cabinet shops running multiple projects simultaneously need traceability between the cut plan and the job it belongs to.
Open the woodworking cut optimizer or start a new job in CutOps to apply this workflow to your next cabinet project.